
Last Updated on April 1, 2024 by Jason Tome
In this post, you’ll learn what beaver trapping gear you’ll need to get started trapping beaver. For those new to trapping beaver, it can be overwhelming trying to find the right equipment in order to be successful trapping beaver. In this post, I will be going into detail on the equipment and strategy that I use in order to trap beavers successfully.
This post contains Amazon and other affiliate links, which means I’ll receive a commission if you purchase through my link, at no extra cost to you. Of course, you are not obligated to use my links, but it does help fund these posts in hopes of bringing more value to you!
Beaver Trapping Gear
#330 Conibear Body Gripping Trap
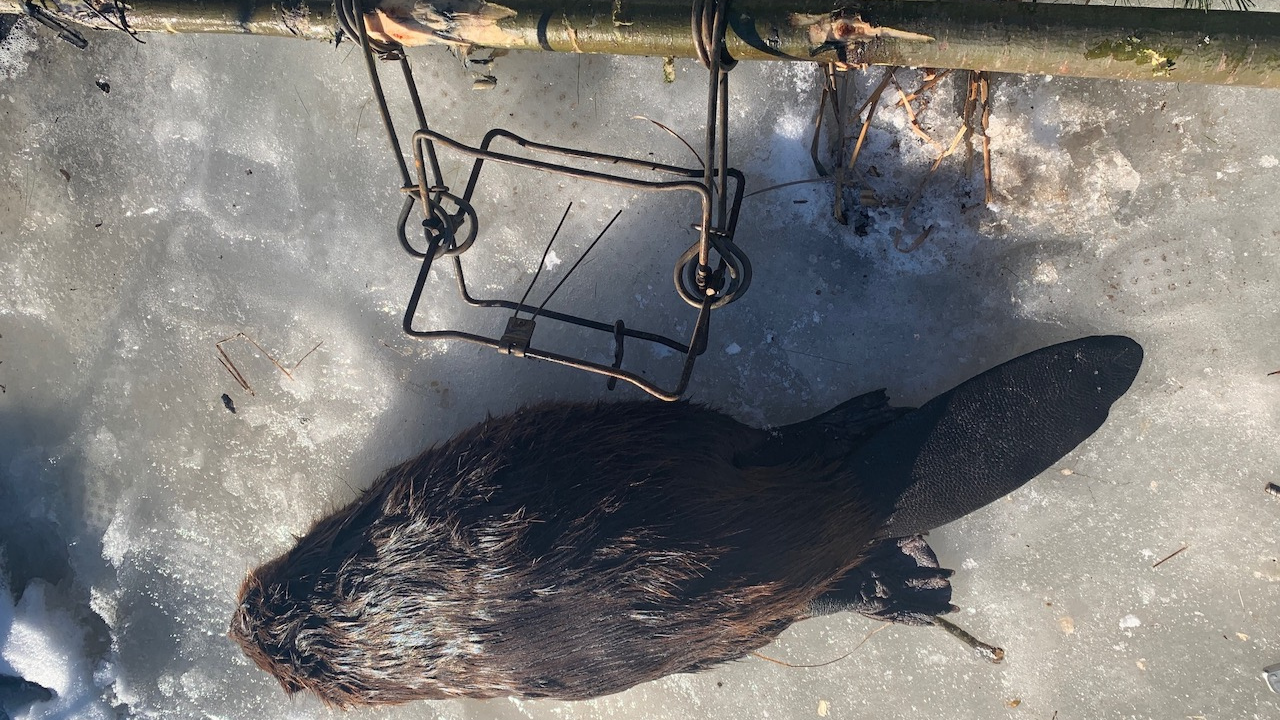
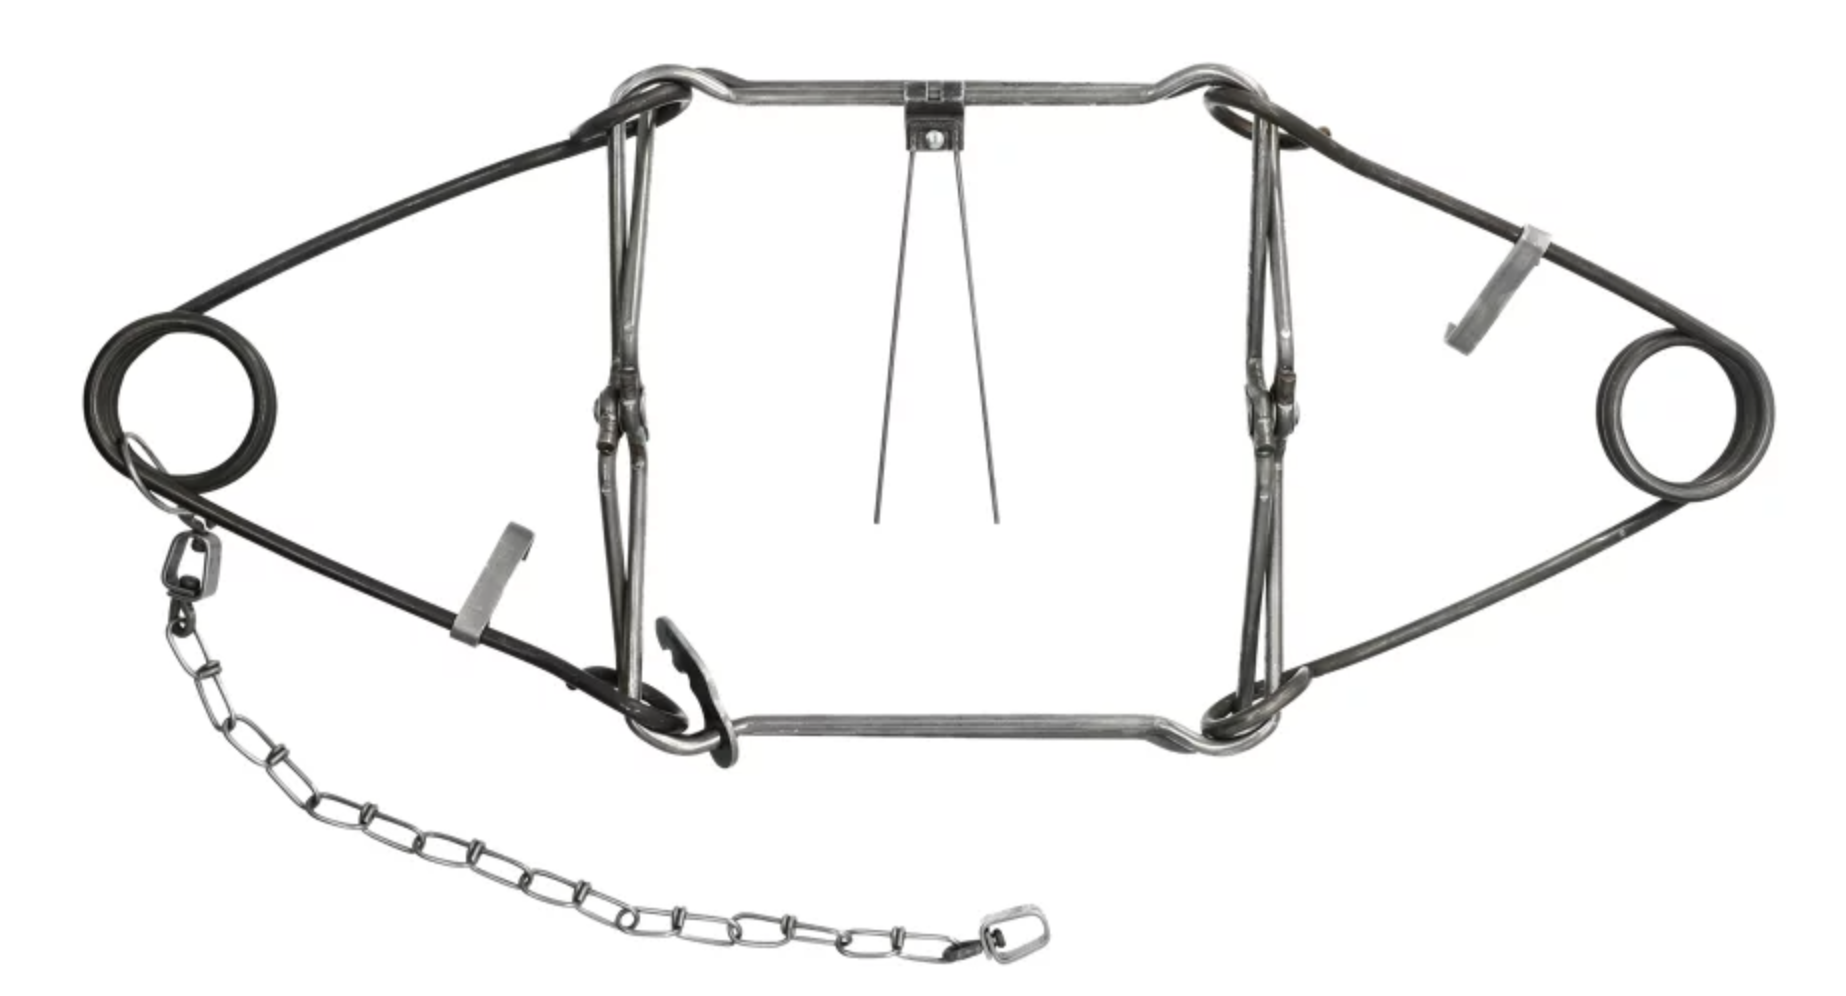
The first thing you’ll need is traps. #330 conibear traps are the go-to for trapping beavers because they are large (10″x10″) and have strong springs which are able to catch the largest of beavers. Since these traps have strong springs, they require a fair amount of strength to set. You’ll want trap setters for both safety and for making it much easier to set the traps.
Foothold Traps
For foothold traps, you’ll want a large diameter trap because beavers have large back feet. To catch the entire foot, you’ll want something at least around 7 inches in diameter. The two traps that I’ve had really good luck with and that also have good reviews are the MB-750 and TS-85.

Conibear Trap Setters
Conibear Trap Setting Sticks
These sticks are used to compress the springs of conibear traps like the #330 trap above. At first, these traps may seem tricky to use but once you get the hang of them these trap setters are much faster at setting traps than the caulking gun and are less tiring when setting multiple traps. They also make setting conibear traps much safer and easier.

Caulking Gun Conibear Trap Setters
This conibear trap setter works very well for beginners because it’s the easiest, safest, and most portable option. The only downside is that they take longer to set multiple traps and if you are setting multiple traps you will tire your forearms out. I recommend learning how to use the trap-setting sticks.

Conibear Trap Safety
This is a must-have piece of gear for trapping beavers with conibear traps. These are used to hold conibear traps in place once they are set so you can maneuver and place traps without being worried about setting the trap off on yourself. Once you get the trap where you want it you can take this safety off. I don’t set traps unless I have one of these. It’s not a bad idea to carry more than one in case you lose or drop one in the water.

Chest Waders
Chest waders are a staple for trapping beavers because you’ll be kneeling down in the water when your setting traps. Hip boots won’t cut it most of the time or will at least make trapping much more difficult. Chest waders with buckles are much better than velcro because they stay on your shoulders better. I like neoprene because beaver trapping is usually in colder weather. Neoprene stands up well against the cold weather and water.

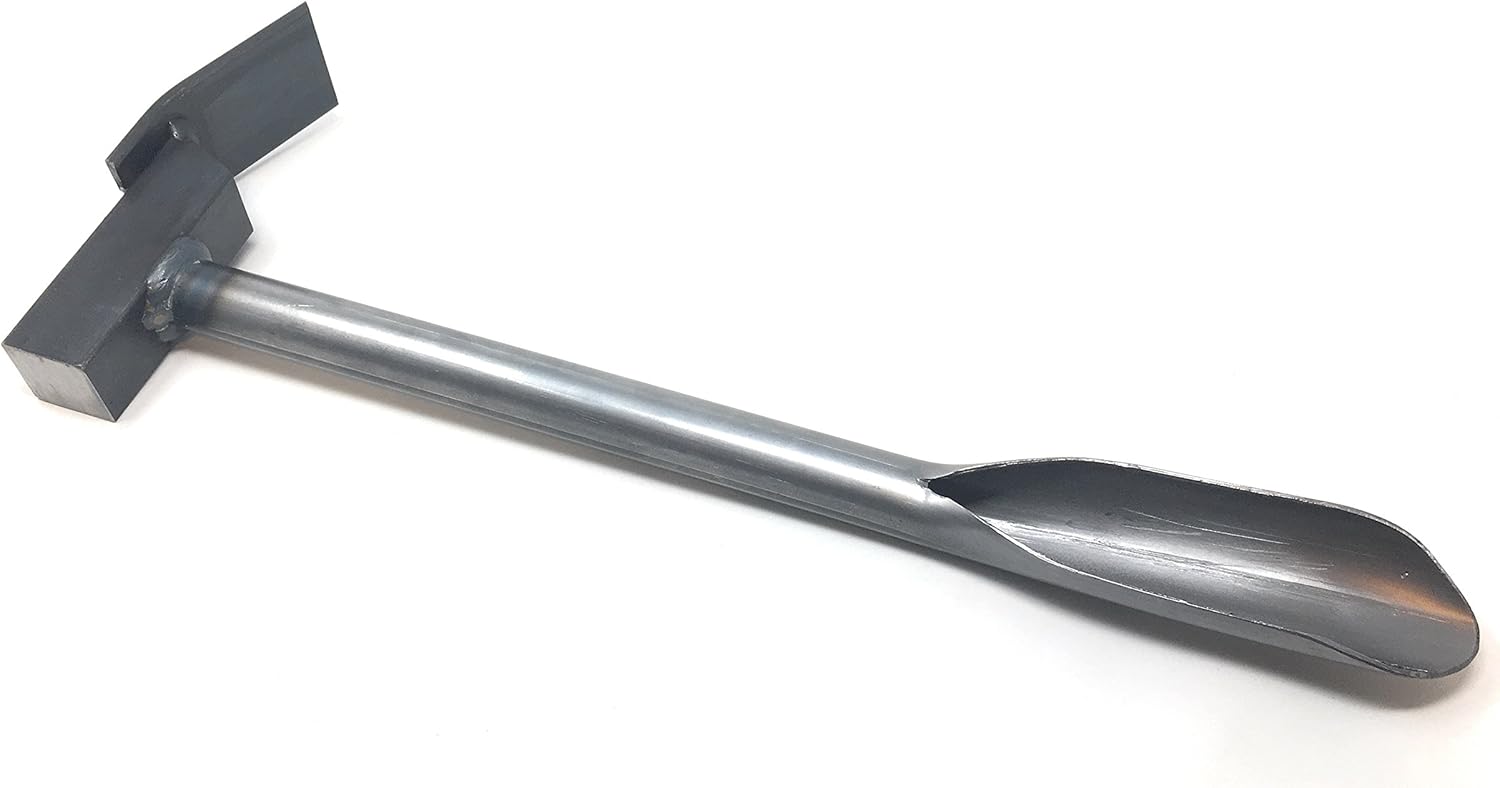
3-in-1 tool (Trowel, Hammer, Holes Sets)
Since hole sets aren’t needed for beaver trapping it really only a 2-in-1 tool. That said, these tools were specifically designed for trapping because they reduce how many tools you need to bring into the field which helps cut down on weight which is important when you’re checking a lot of traps. So even a 2-in-1 tool is helpful.
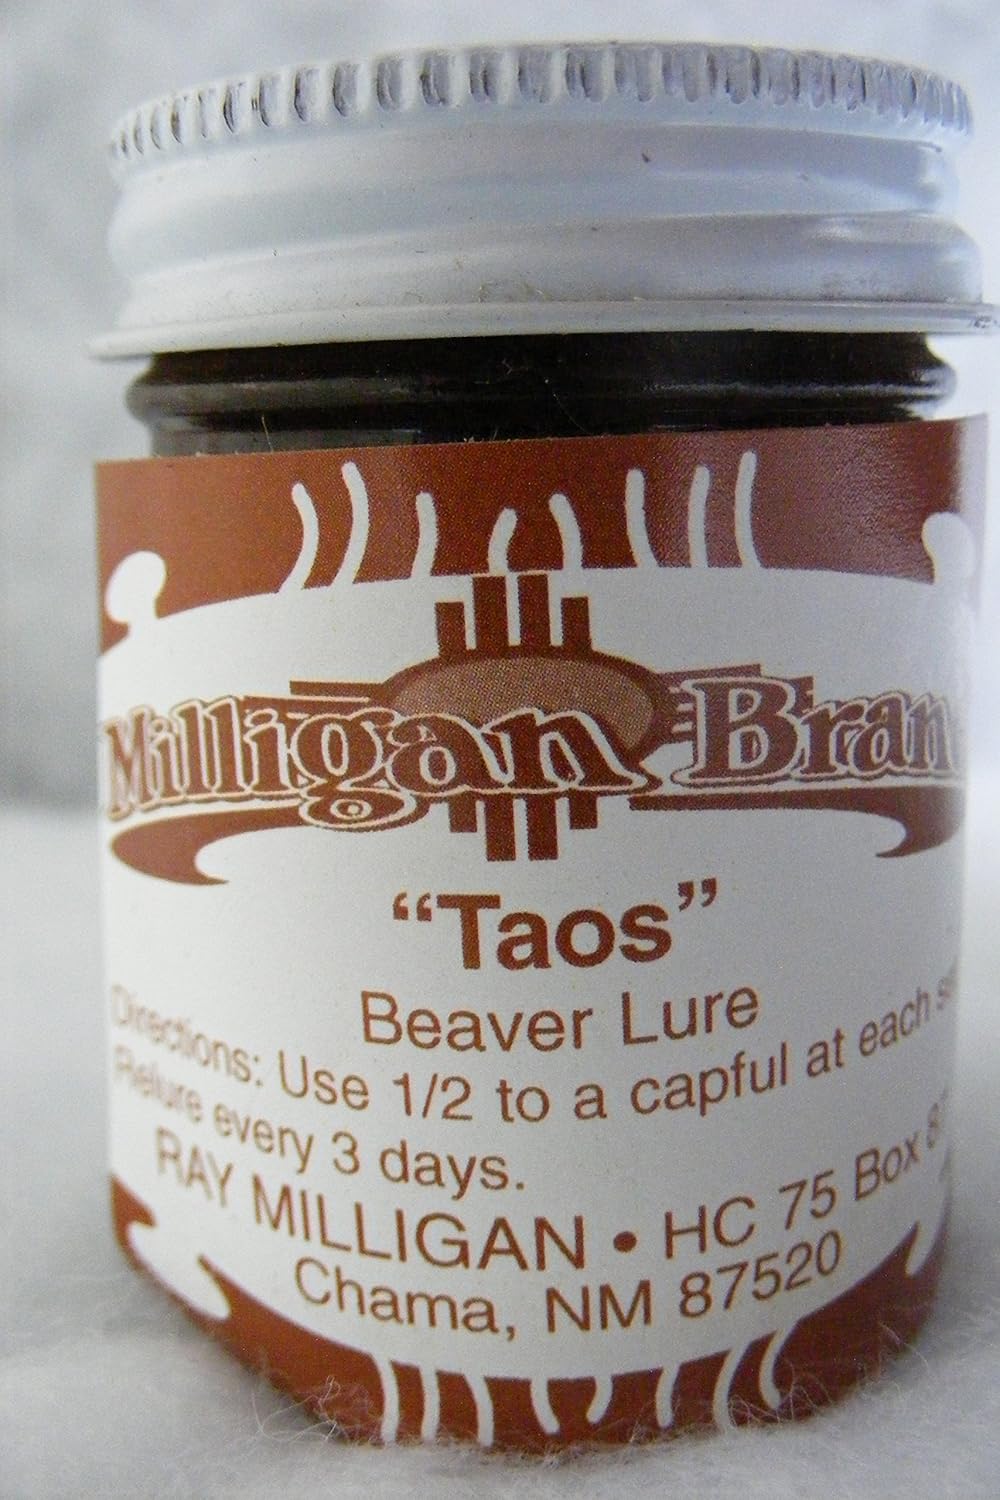
Beaver Lure/Castor Gland
Beaver castor is secreted from their castor gland. They use castor to mark their territory. Since beavers are territorial, castor gland scent can be used to pique curiosity and their territorial instincts. This scent is best used in the spring when beavers are naturally leaving their scent on castor mounds.
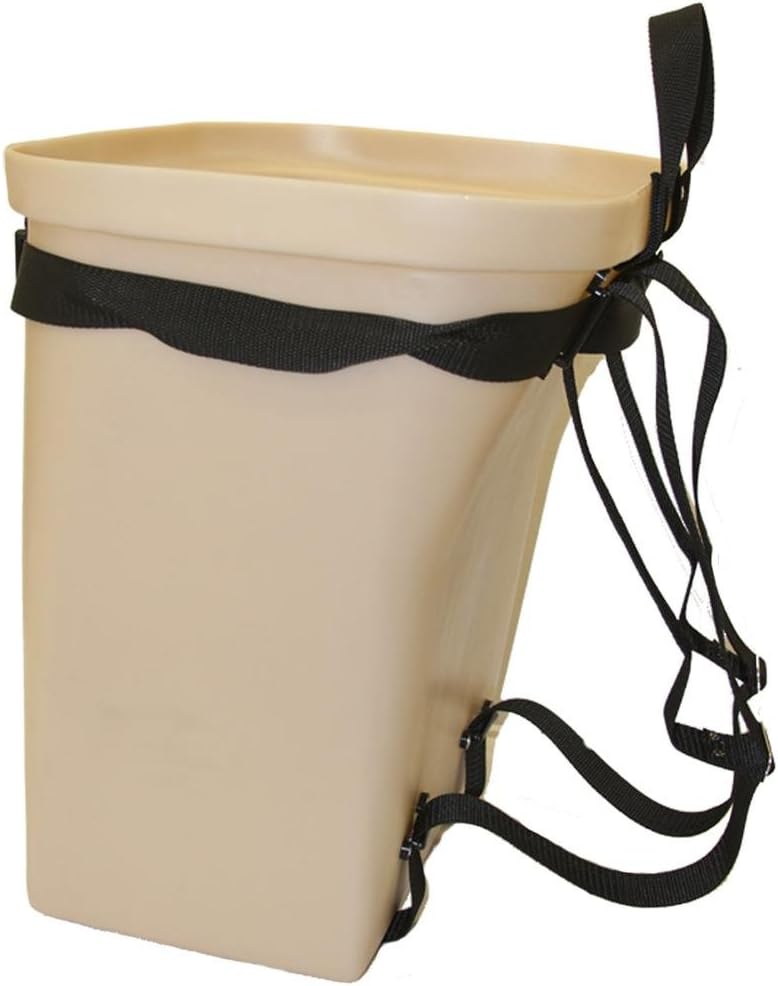
Trapping Pack Basket
A trapping basket helps carry gear and beaver catches. Basically, they’re for carrying more messy gear like rusty traps and beavers. I prefer to carry my smaller tools in a separate bag tool bag to keep things cleaner. You’ll really need one of these for bringing beavers back to the vehicle since you’ll have other tools you’ll be carrying. Otherwise, you’ll be making multiple trips to get everything.
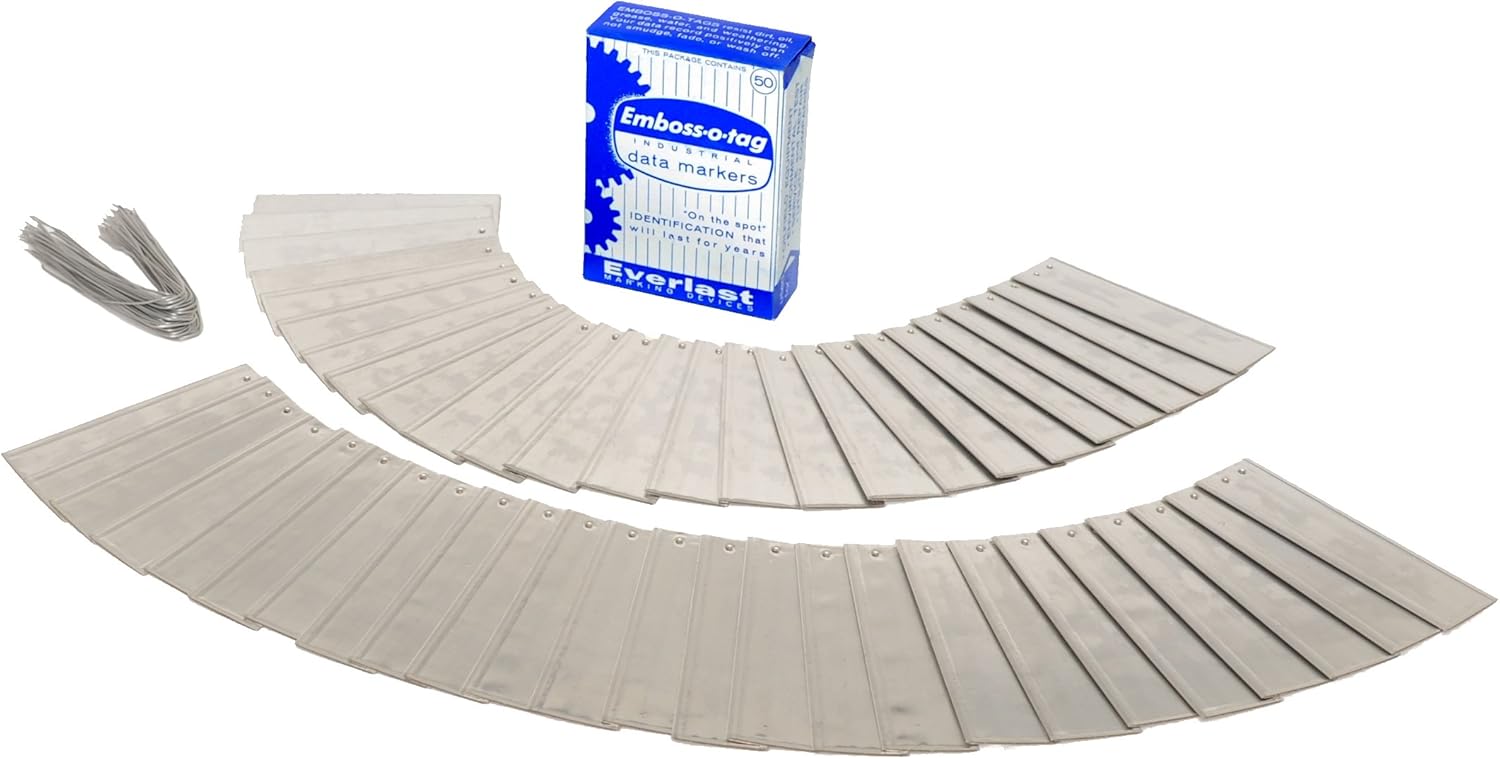
Write-On Metal Trap Tags
Trap tags are required by law so that the authorities can tell who traps belong to. Over time tags will wear or get mangled with use. This pack of 50 tags will last a while.
20-Gauge Wire
Wire can be used for multiple purposes to secure traps in place. Mostly though, it is used to keep traps from being lost if a beaver doesn’t get caught properly. I’m usually using wire when the mud is too soft to hold T-Bar stakes. I also commonly use wire for under-ice sets. I will place a log horizontally across the chiseled hole where the trap was placed in. This way if a beaver chews through the pole your trap is attached to it won’t be lost and you’ll still get the beaver.

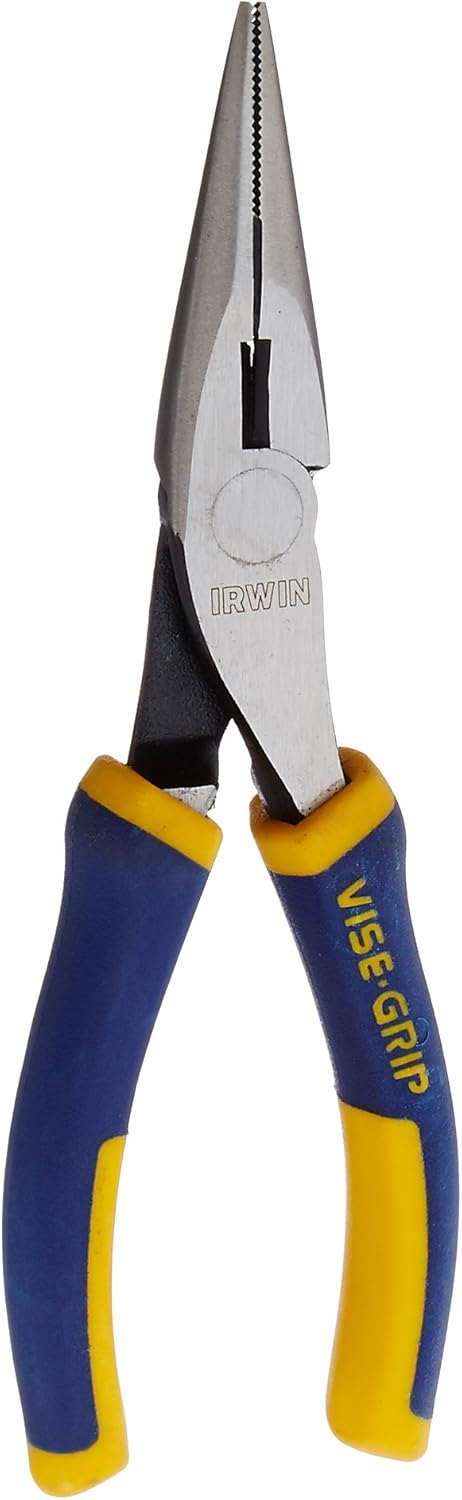
Wire Cutters or Pliers
You’ll need something to cut the 20-gauge wire. Wire cutters or pliers will work. Pliers can also be used as a spare tool if needed, they can come in handy. I will use them instead of my fingers in colder weather for better dexterity when I’m wearing gloves.
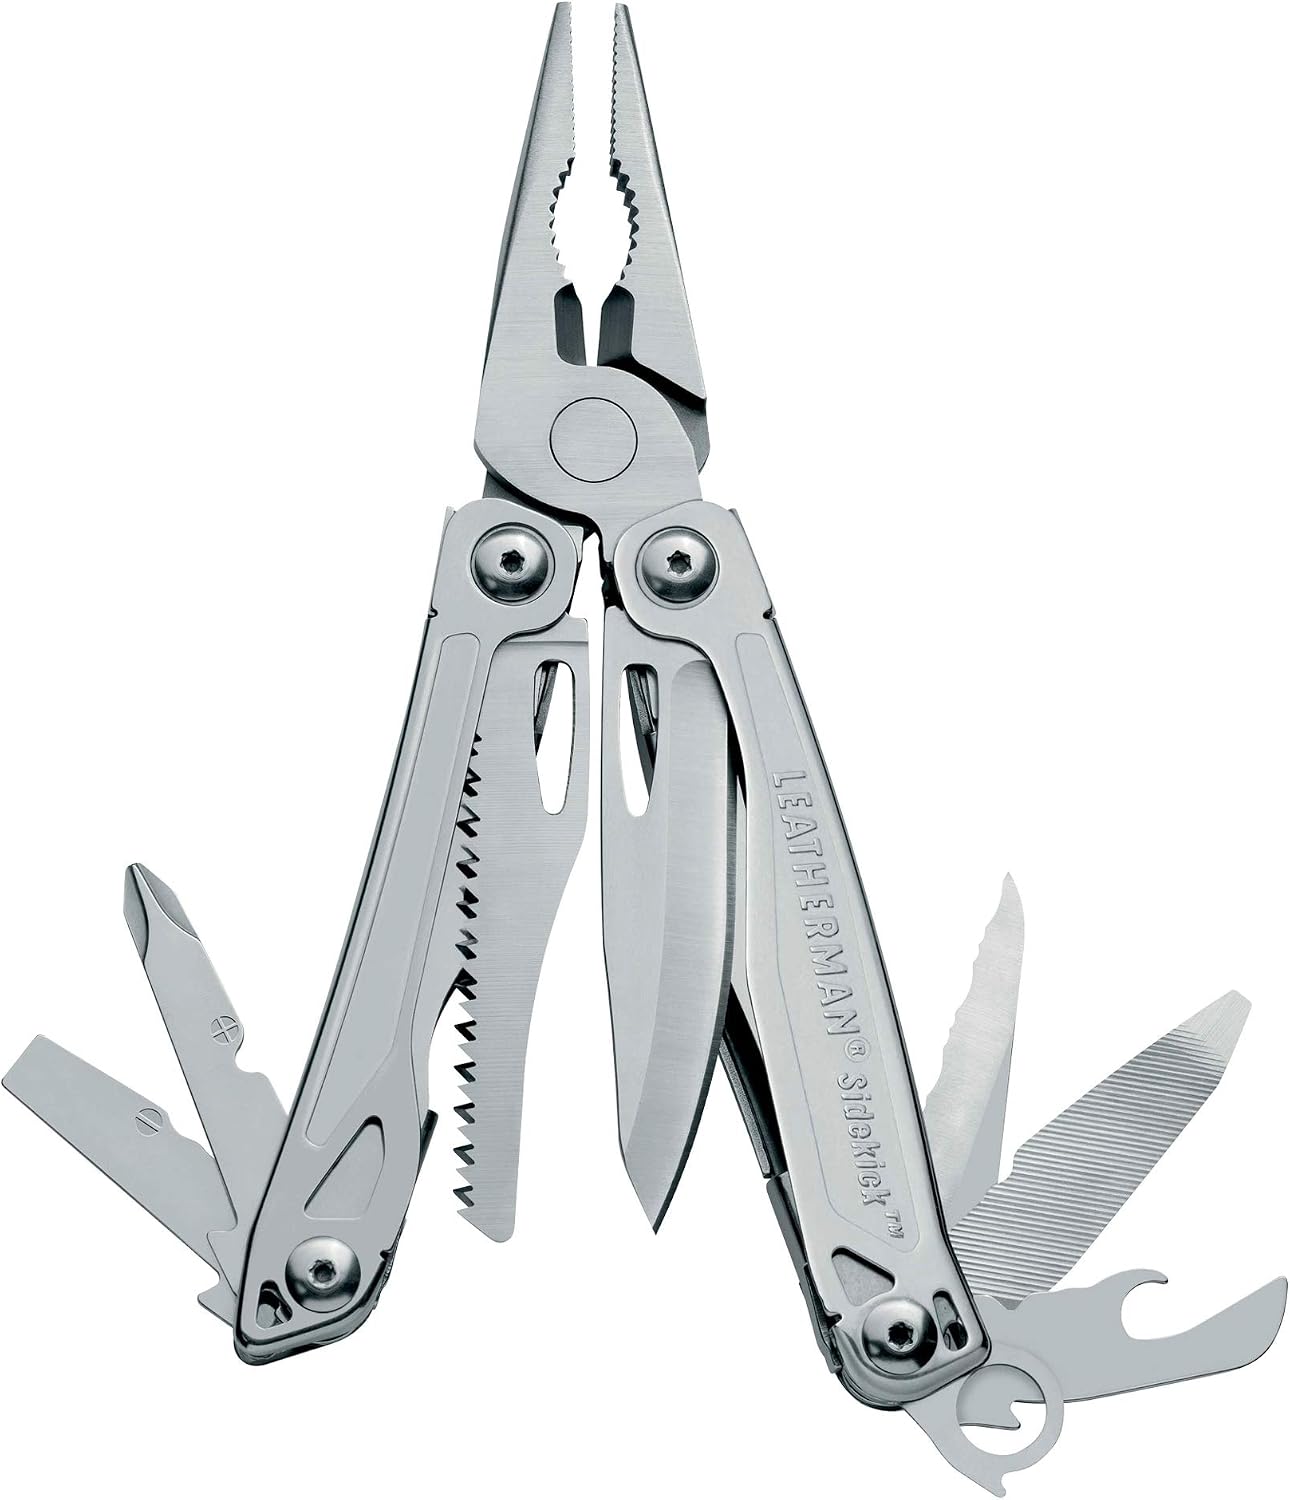
Leatherman Multitool
All trappers can make use of a Leatherman multi-tool. Made in the USA and with a 25-year warranty, this 14 in 1 tool is not only convenient but in my experience, it manages to reduce a lot of frustration when things go awry or fall apart. There have been many times where the leatherman has saved the day when doing repairs.
Their hardiness in unideal situations makes them one of the best tools for trappers. They also have a lot of useful applications outside of trapping. Plus, you won’t have to buy regular pliers to cut wire.
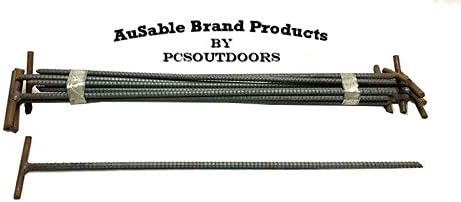
24-Inch T-Bar Stakes
I use these stakes almost every time I set a trap. These are what I will use to anchor my trap most of the time instead of wire if the soil isn’t too soft. I will place one of these in one of the springs of the conibear traps to anchor it. I also use these on drowning sets to anchor the drowning rods to the ground. They are a must-have in my beaver trapping gear.
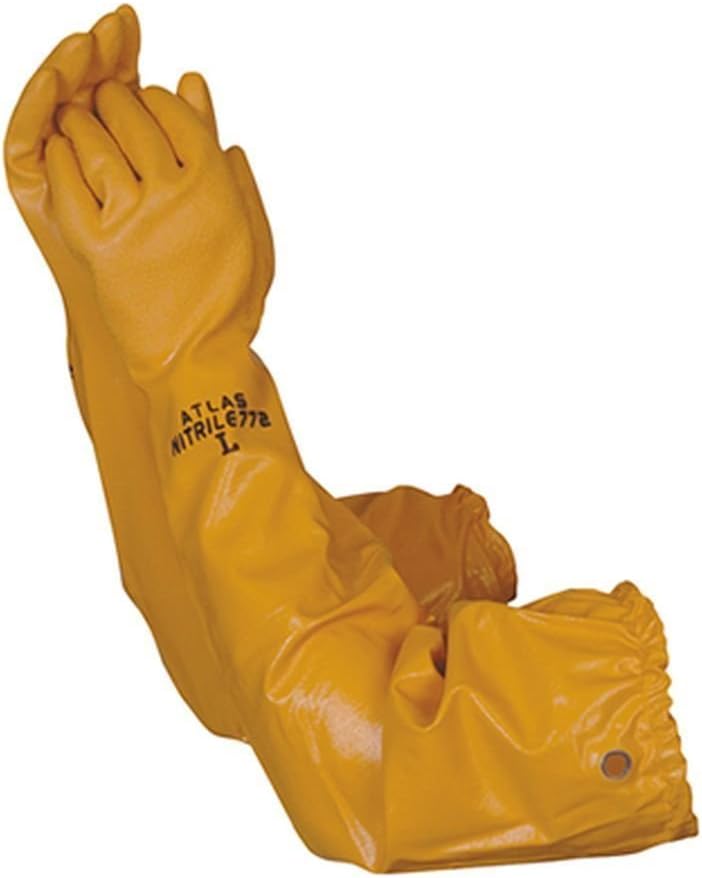
Long Rubber Gloves
These gloves are great for beaver trapping because they go almost to your shoulders, keeping your hands warm and dry especially in the cold. They also protect you against any pathogens in the water and any potential beaver diseases. They are another must-have in my beaver trapping arsenal.
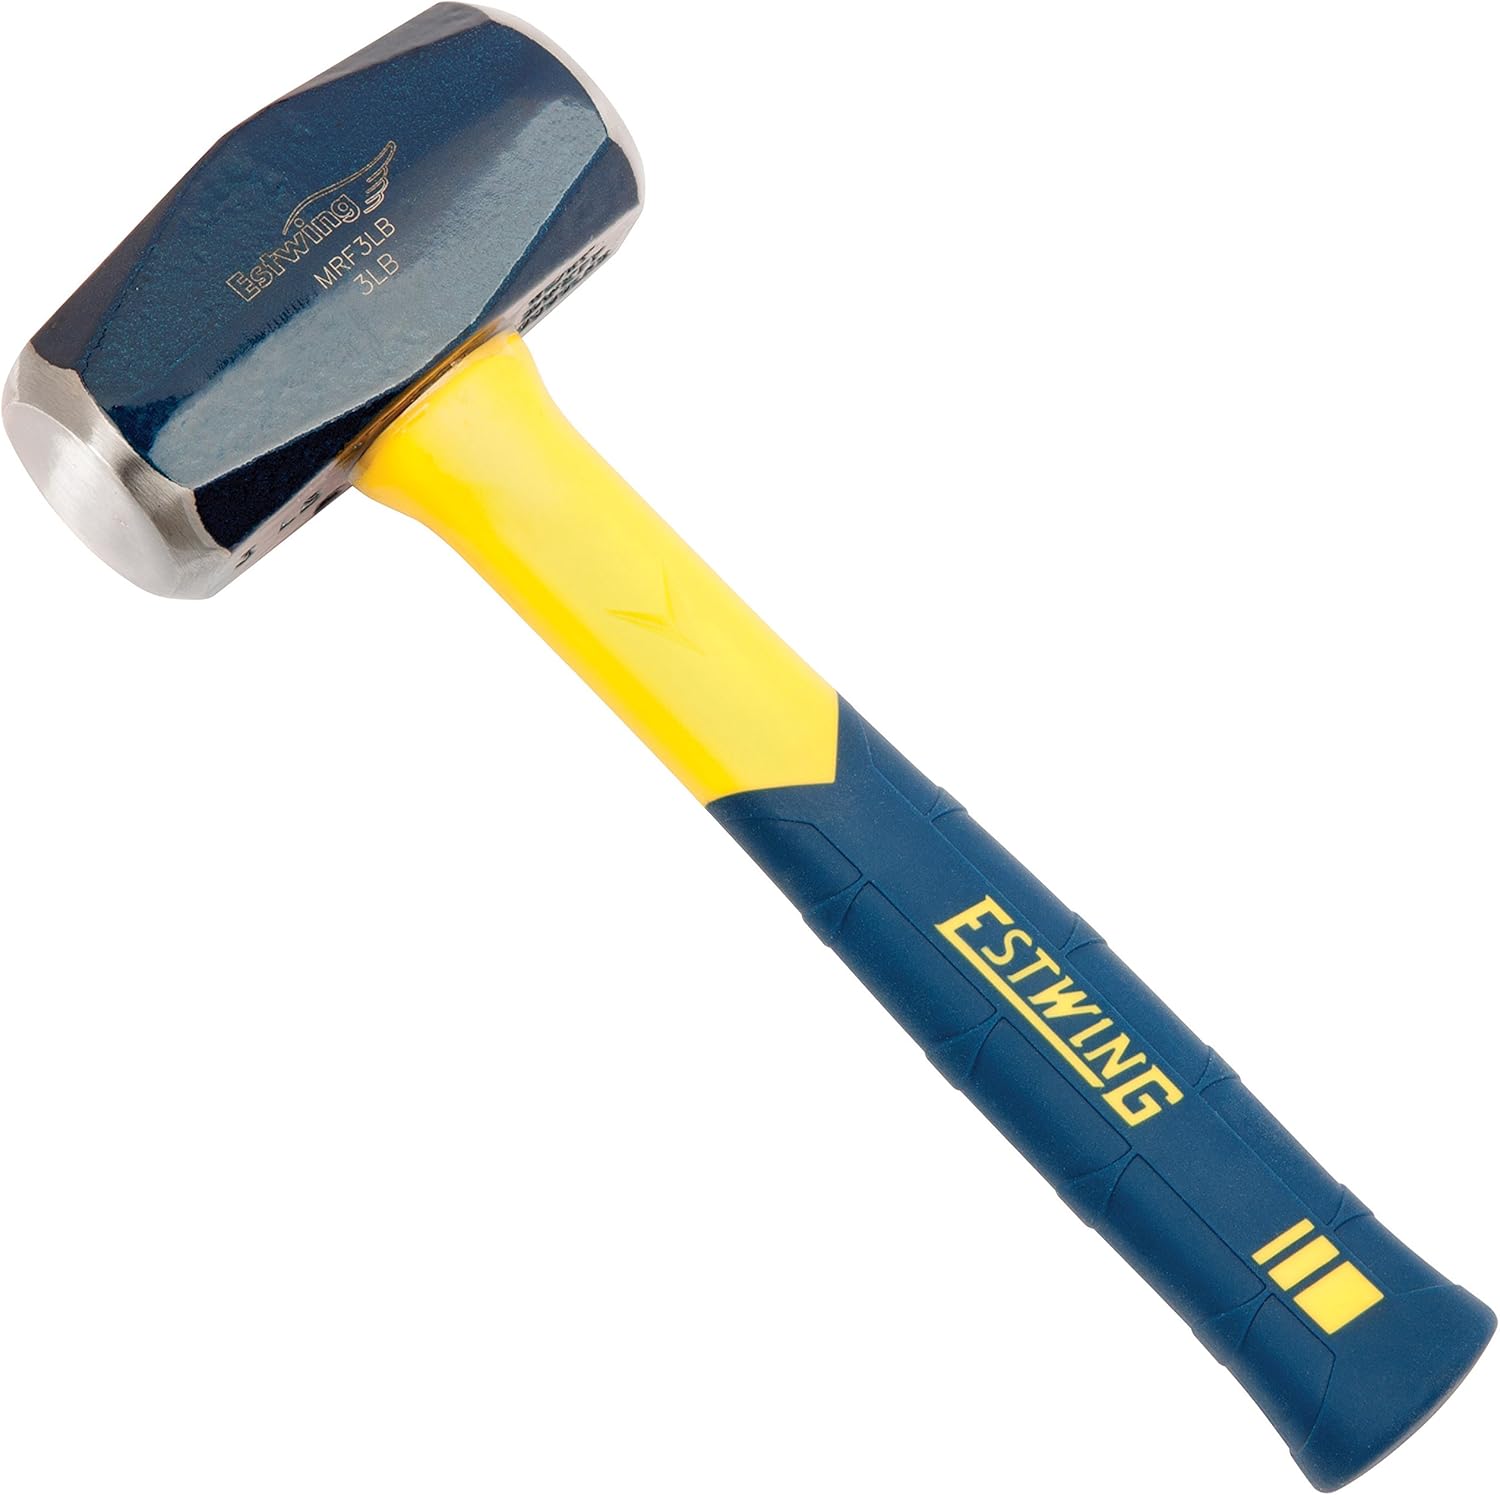
Hammer
A hammer is needed for driving T-bar stakes into the ground. A 2 or 3 lbs hammer works well, especially for punching through the frozen ground along shorelines.
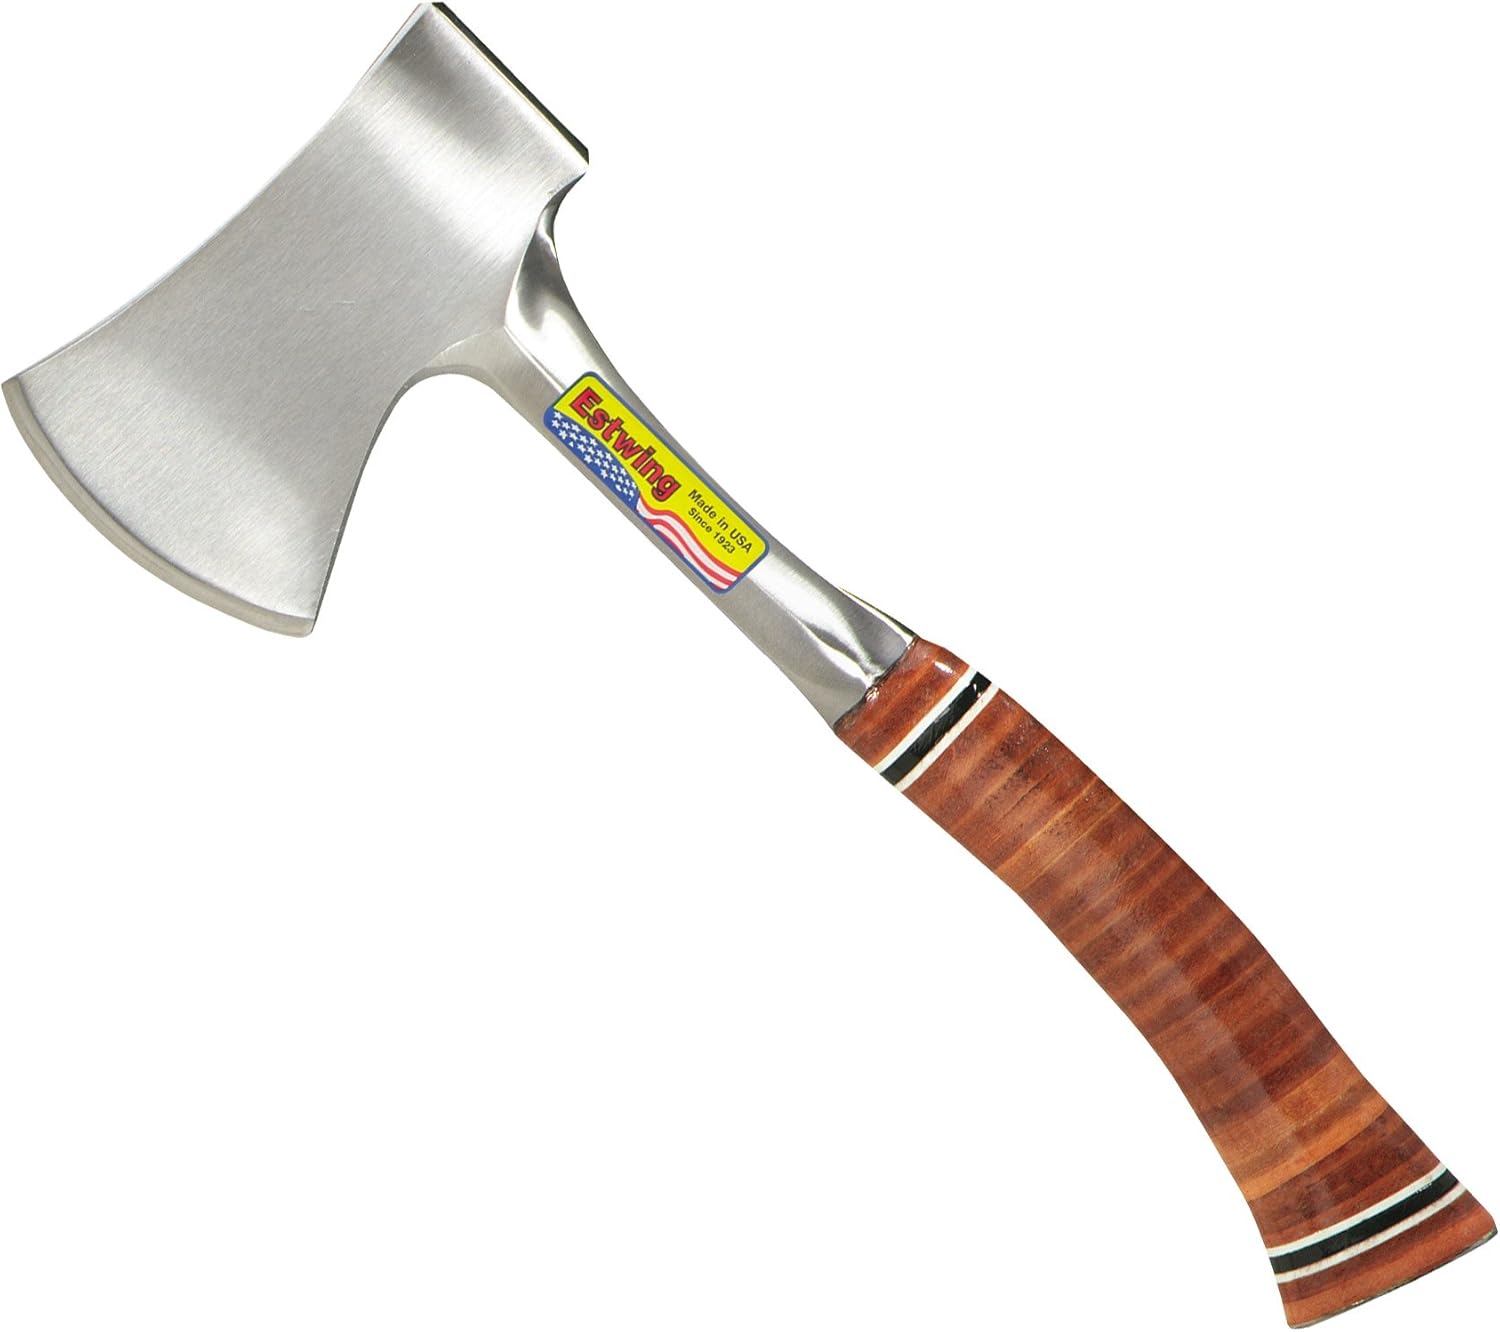
Hatchet
A hatchet is pretty much a must-have tool because it will allow you to create trap poles and make stakes to secure trap into place. A lot of the time you need a hatchet to widdle down a stick to the perfect size so it will work for your specific application. Often, you can use the back of the hatchet as a hammer too.
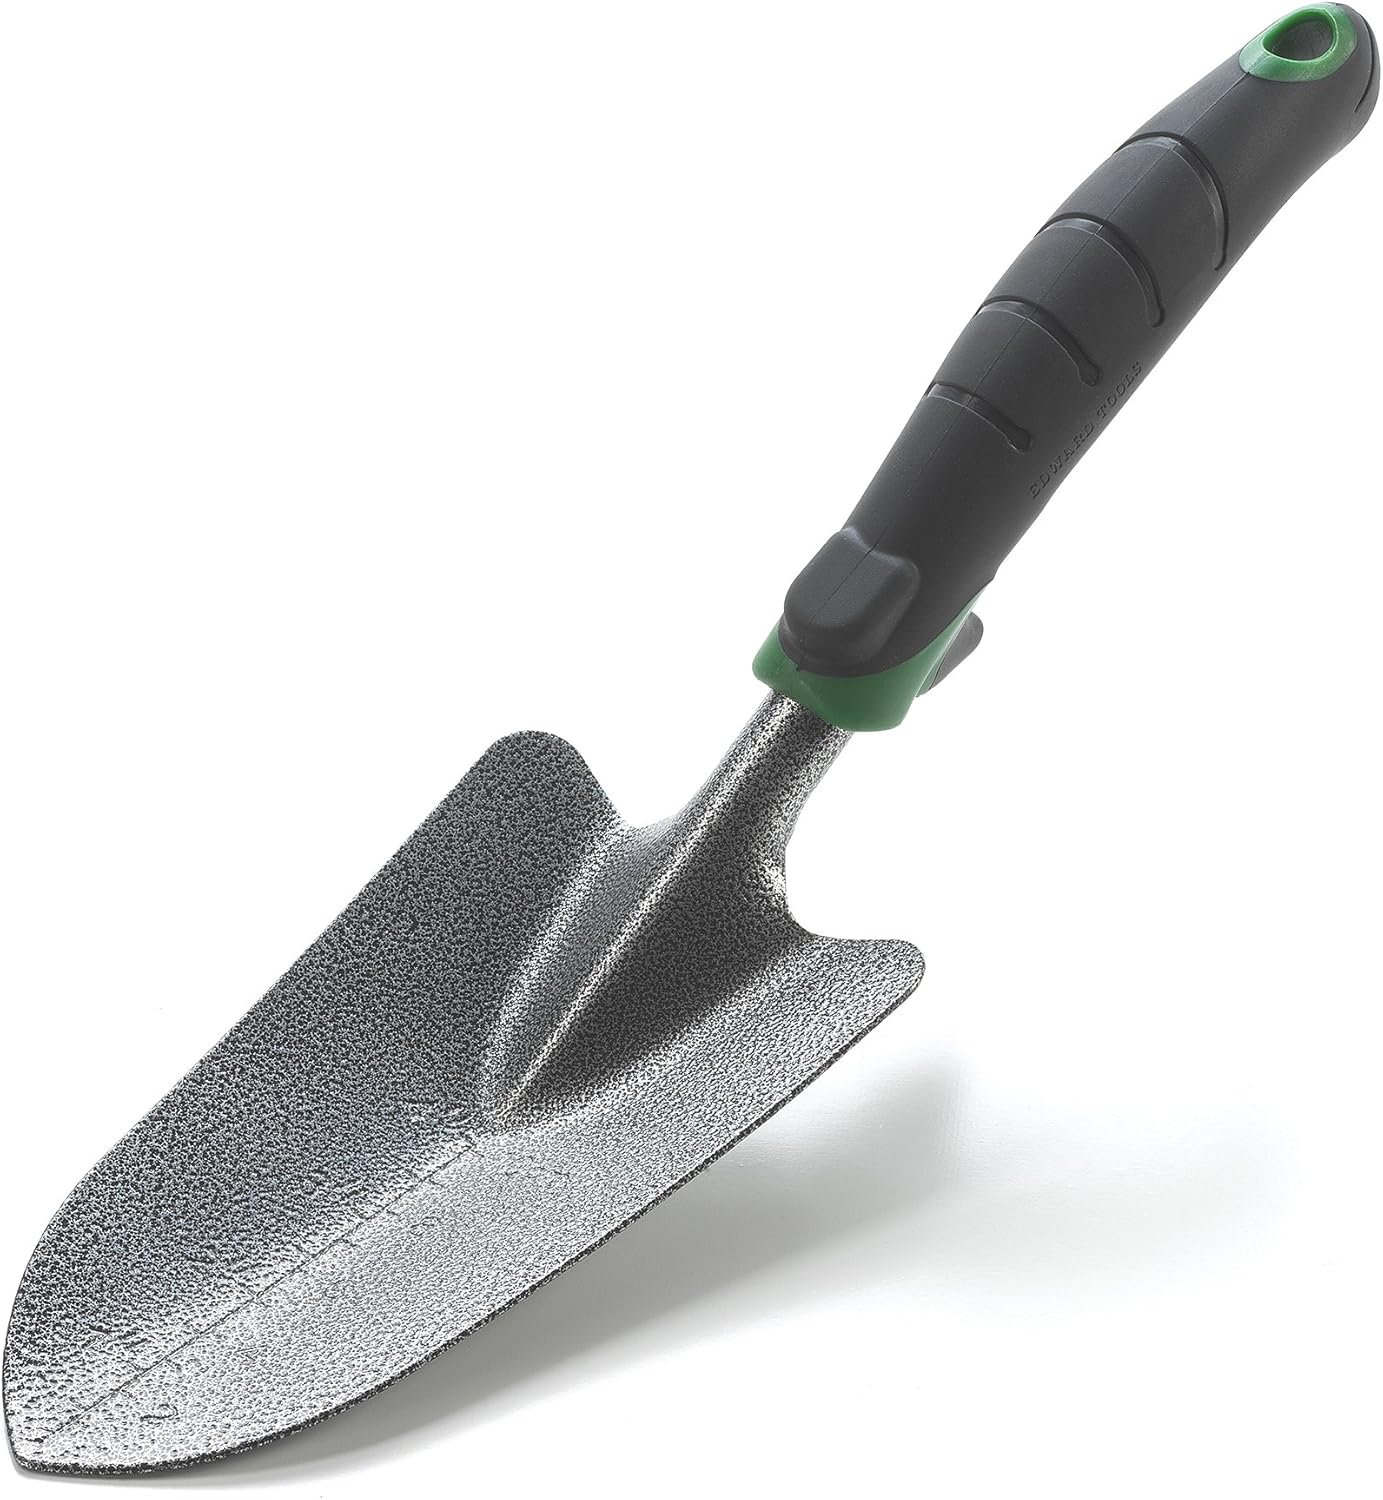
Trowel
A trowel can be used for moving earth to perfectly get a trap situated and for creating castor mound sets. Manipulating the earth around a trap to get a perfect fit is important because it’s the fine details that result in a successful catch or not.
14-Inch Bolt Cutters
Bolt cutters are used to cut the chain of traps to add useful gear to the chains. For example, adding more swivels and trap anchors to the trap chain.

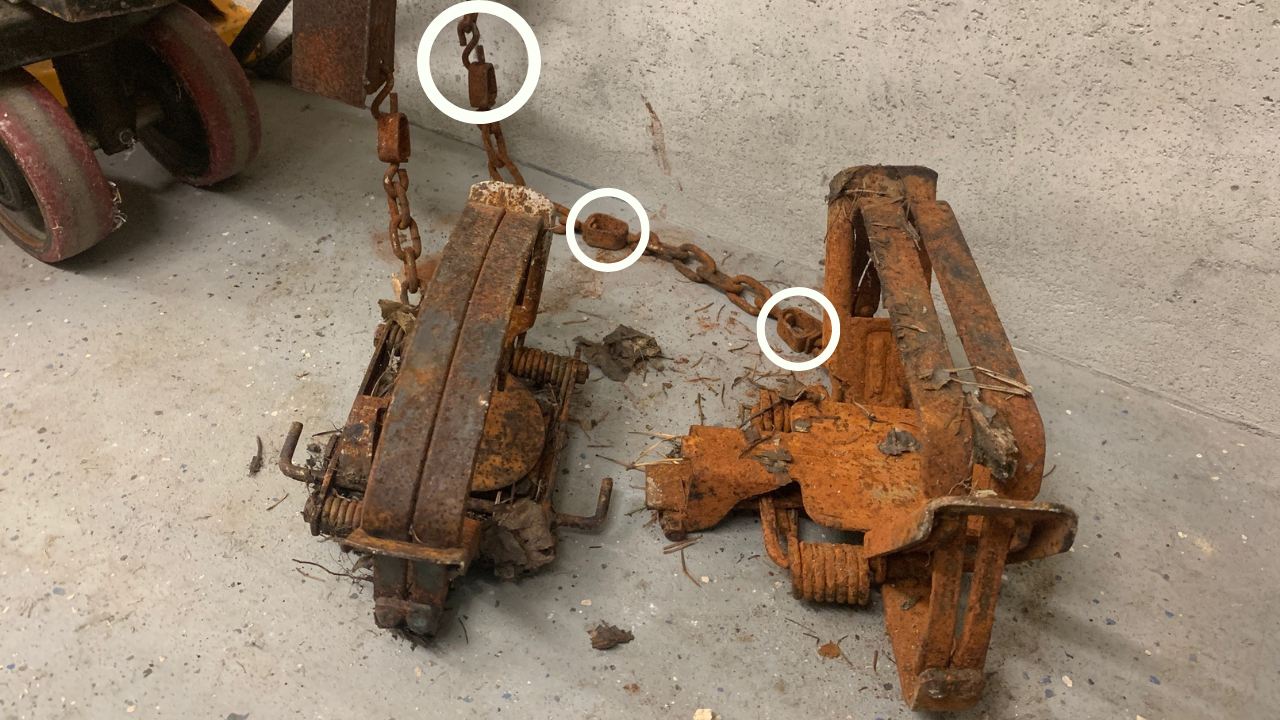
Trap Swivels
When working with foothold traps you may need to add more swivels to the trap chain depending on your laws. Here in Maine, we need 3 swivel points on the chain and the traps only come with two. To add a swivel you must cut one of the chain links and replace it with a swivel. Bolt cutters are needed to add these.

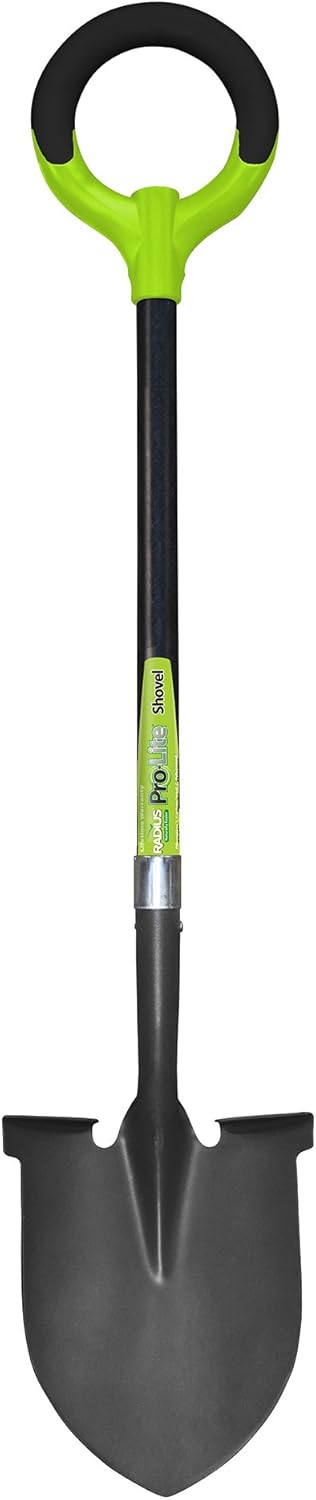
Metal Shovel
I always bring a metal shovel in the truck with me but I don’t always end up bringing it. A metal shovel is handy when there’s snow to remove a fresh layer of snow covering the under-ice traps. It’s also good for light chiseling if the ice isn’t very thick to get to my traps.
Chisel
When it gets colder a chisel is needed to get to under-ice traps that have a few inches of ice. A chisel is needed when ice is too thick for a metal shovel.

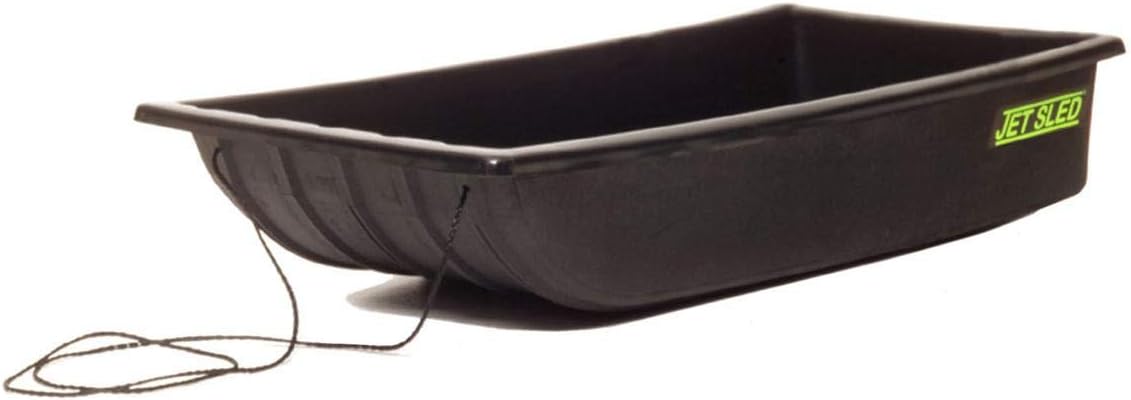
Jet Sled
A jet sled is invaluable when there is snow on the ground. I even use mine on the bare ground when I have a lot of gear I have to carry a long way even though it’s harder to pull it’s still worth it. More gear is usually involved when trapping beavers when there is snow so a jet sled is worth every penny. It’s also easier for transporting beavers than with a pack basket.
H-Stand
These stands are used to hold conibear traps up in very mucky/muddy soil. In this type of soil, traps will get buried by sinking into the ground. The H-Stands keep traps at a perfect height so that the beavers swim right through the trip instead of over the trap.

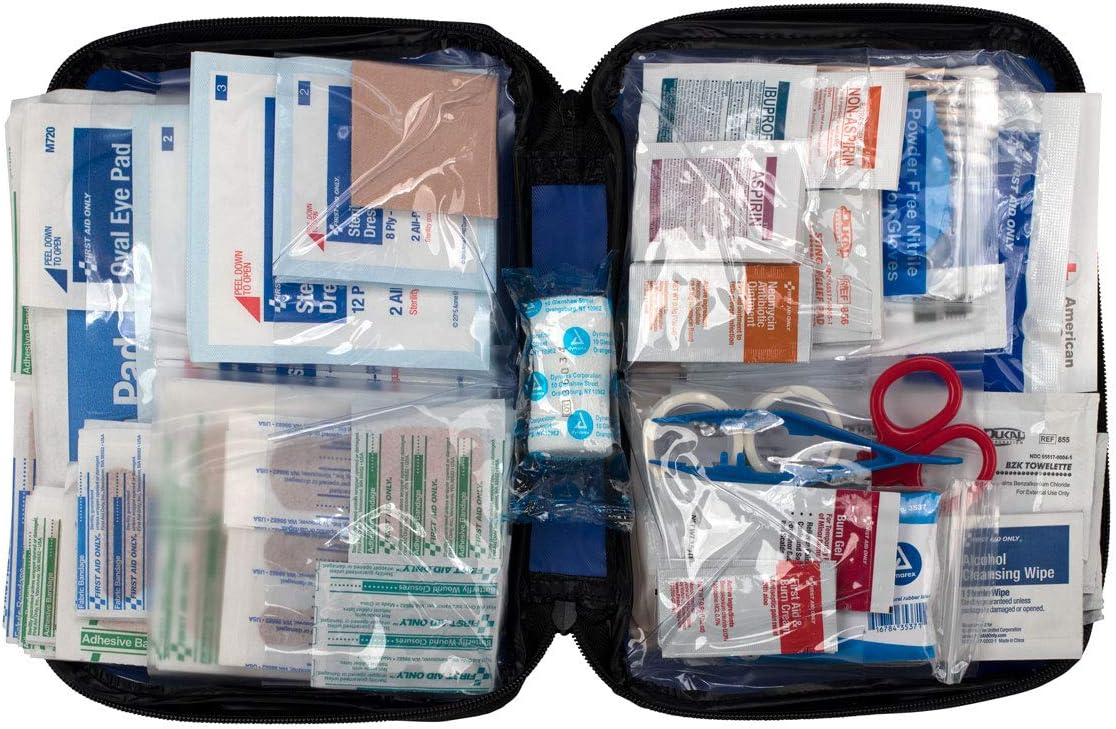
First Aid Kit
It’s always a good idea to have a first aid kit when trapping, especially for beginners. Trapping gear can be dangerous if handled improperly by a beginner and even if handled properly accidents can happen. Having a first aid kit is a good idea.
Method of Dispatch
Sometimes when trapping you don’t get a clean catch that results in a kill. In these circumstances, you’ll need a tool to dispatch the beaver. If you’re looking to keep the pelt in as good shape as possible you might buy some sort of club that is used to hit the beaver on the back of the head. Another option would be to use a small-caliber rifle which will also result in minimal pelt damage. A high-powered air rifle or .22 handgun would work.
This .22 caliber Gamo Swarm Magnum 10X Gen2 air rifle would have no issues dispatching a beaver up to 15-20-yards with an ethical shot to the head. You should have no issues getting closer than that with a beaver that is caught in a trap. This is one of the best air rifles for dispatching because it is one of the fastest air rifles on the market, shooting .22 caliber pellets up to 1300 FPS, and at an affordable price.

Check Amazon's Price Check AirGun Depot Price
My YouTube Video: How I Use Some of The Above Trapping Gear
Conclusion
Hopefully, this post has helped you figure out what you’ll need for beaver trapping gear. This is the gear that I use when I am beaver trapping and it works well for me. If you can’t afford to buy everything on this list at one time, don’t worry. You can buy the essentials and slowly work your way to the other gear as you progress as a trapper.